Build a React & Firebase Blog Site Part 3
Published
We’ve reached the third part of our React & Firebase series. In part one, we learned how to set everything up. Last time, we made a page for creating new blog posts. Today, we’re going to read single posts from our Firebase Realtime Database and show them in our app.
If you haven’t read the first two posts, I have some starter code you can use instead. Just make sure you follow steps 1, 2, & 5 from the first part before you go any further.
1. Clone the (Part 3) Starter Code [Optional]
Skip this step if you’ve successfully completed Part 2. Otherwise, you can clone the code by running the following command in the terminal:
git clone https://github.com/ashleemboyer/react-firebase-blog-starter-part-3.git
You’ll need to change one file before continuing: src/firebase.js. If you open it, you’ll see the following config constant:
const config = {
  apiKey: "<YOUR-API-KEY>",
  authDomain: "<YOUR-AUTH-DOMAIN>",
  databaseURL: "<YOUR-DATABASE-URL>",
  projectId: "<YOUR-PROJECT-ID>",
  storageBucket: "<YOUR-STORAGE-BUCKET>",
  messagingSenderId: "<YOUR-MESSAGE-SENDER-ID>",
  appId: "<YOUR-APP-ID>"
};
The attributes within the constant are used to connect your app to your Firebase project. To find these values, go to your project settings using through the gear icon in the left sidebar of the Firebase console. Scroll down to the “Firebase SDK snippet” under “Your apps” and copy the attributes from what they’re calling firebaseConfig. Replace the attributes in your config constant with these values.
Now you can run npm install and then npm run start to see your project in a browser.
2. Inspect the Post Component
You can find this component in the src/pages/post.js file. Let’s take a look at what it does right now.
First, it grabs the slug from the URL using the Router we have set up in src/App.js. Components passed in to Route components within a Router have a match prop sent to them. There are other ways this prop is sent to components, and you can read more about that over here.
Next, we have a postSlugs constant which is an array of slugs that exist with a real blog post. If you look at the database, these match the slugs we’ve given to the first and second blog posts. The problem is that this code isn’t dynamic and it’s also not connected to the database. We’ll come back to this in a few.
Next, we’re checking if the slug in the URL bar is one of the postSlugs. If it isn’t, then the user is trying to see a post that doesn’t actually exist. So, we return a Redirect to our 404 component. You can read more about the Redirect over here.
Finally, we have our return statement. Right now, it returns the same thing for every valid post slug. Instead, we want to show the real blog post content that we have stored in Firebase.
3. Connect the Post Component to Firebase
First, let’s add import our getFirebase function so we can try to read from the database. While we’re at it, we should also import useState to help manage a couple of things.
import React, { useState } from "react";

import { getFirebase } from "../firebase";
Next, let’s think about how what we want to manage with useState. The first thing that comes to mind is a loading state. This will be a boolean that describes whether or not we are trying to load something from the database. We also want a variable for our currentPost that we’re trying to read from the database. Replace the postSlugs line with the following two lines of code:
const [loading, setLoading] = useState(true);
const [currentPost, setCurrentPost] = useState();
We want to start in a loading state so the page can show something different to indicate to a user that the page is loading. You can show an animation, GIF, plain text, whatever you please. We’ll keep it simple for now and just return some text like this:
if (loading) {
  return <h1>Loading...</h1>;
}
Our database call needs to go right before this if statement, however. If we place it after, it will never be reached because the if statement is making the code return early. Here’s what we’ll add after our calls to useState and before the if statement we just wrote:
if (loading && !currentPost) {
  getFirebase()
    .database()
    .ref()
    .child(`/posts/${slug}`)
    .once("value")
    .then(snapshot => {
      if (snapshot.val()) {
        setCurrentPost(snapshot.val());
      }
      setLoading(false);
    });
}
Let’s update our check on whether a post exists or not. Update postDoesNotExist to the following:
const postDoesNotExist = !currentPost;
These conditions might be a little confusing at first. What are we checking for? It might help to list the steps of execution here, which you can play around with yourself by adding some console logs to the file.
- On first load:
loadingis true andsetCurrentPostis undefined, so we go inside of theifstatement. Once we make it into thethen, ifsnapshot.val()returns an object (it’ll be null if no post exists with the givenslug), we callsetCurrentPost, makingcurrentPostno longer undefined. - After
setCurrentPostcall: Making this call will re-render the component. We reach ourif (loading && !currentPost)statement again. SincecurrentPostis now defined, we do not go in the code block again, thus keep ourselves from unnecessarily making calls to the database. We reach theif (loading)statement.loadingis still true, so the component returns some text and doesn’t do anything else. - After
setLoadingcall: Making this call will re-render the component.loadingis now false andcurrentPostmight be undefined or an object. That’s where theif (postDoesNotExist)check comes in. If we didn’t get a post back from the database, we return aRedirect, like before. Otherwise, we continue on to our finalreturnwhere we show the post.
I hope these steps aren’t overwhelming and they help you see the power of hooks and state management! They’re some of the coolest things about React, to me.
Here’s how I’m displaying posts:
return (
  <>
    <img src={currentPost.coverImage} alt={currentPost.coverImageAlt}>
    <h1>{currentPost.title}</h1>
    <em>{currentPost.datePretty}</em>
    <p dangerouslySetInnerHTML={{ __html: currentPost.content }}></p>
  </img>
);
I also added a 12px margin to the top of <p> elements in src/index.js.
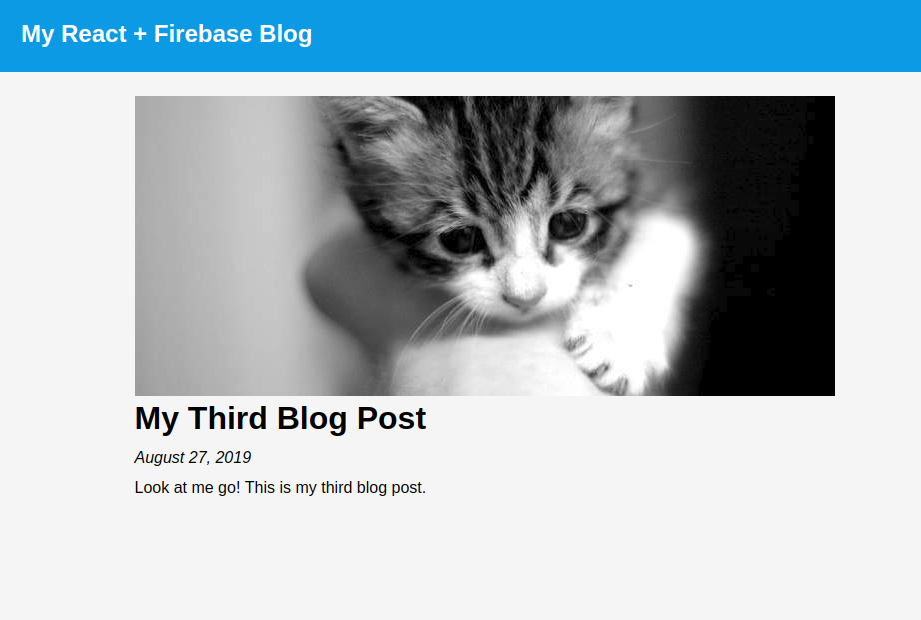
Now, when you click a “Continue reading…” link or manually navigate to one of your posts, you should see something like this:
Please send me an email or a Twitter DM if you have any questions or concerns. I love hearing from you! 😊