Archived Build a Blog Site with Next.js and Firebase Part 1 - Getting Set Up
Archived
🚨 ATTENTION 🚨
You are currently viewing an archived post. The information here may no longer be accurate or maybe Ashlee just decided not to publish the post as publicly anymore.
Welcome to the first post in my new “Build a Blog Site with Next.js and Firebase” series! This series is pretty similar to a series I wrote in 2019: “Build a React & Firebase Blog Site”. Because it’s been well over a year since I published that series, I decided to create a new series and use the Next.js React framework this time. It’s a fun framework to use, and I know so many people that are curious about it. I hope you enjoy the series!
- Read Part 2 of the series
- Read Part 3 of the series
- Read Part 4 of the series
- Read Part 5 of the series
Firebase Setup
First, let’s create a new project in Firebase. There’s a video after these steps that visually walks though how to do this.
- Go to console.firebase.google.com and make sure you’re logged in with the Google account you want to use.
- Click the card that says “Add project”. It should be the first one listed.
- Enter a project name. I’m going to use
nextjs-firebase-blogfor the entire series. - Toggle “Enable Google Analytics for this project” to off.
- Click “Create project”.
- Click “Continue” when your new project is ready.
Now that we have a project, we can set up the database and add some test data to it. There’s a video after these steps that visually walks though how to do this.
- Click “Realtime Database” in the left-hand sidebar.
- Click the “Create Database” button.
- Keep the given location setting and click the “Next” button.
- Select the “Start in test mode” option.
- Click the “Enable” button.
Since we won’t have an interface for creating new posts until after Part 2 of this series, we need to add some test data to our database. Firebase makes it easy to import data from a JSON file. That’s how we’re going to add our test data. There’s a video after these steps that visually walks though how to do this.
- Wherever you store code on your machine, create a new folder for this project. I’m calling mine
nextjs-firebase-blog. - Add a file to it called
data.json. - Paste this block of code in the JSON file:
{
  "posts": {
    "my-first-blog-post": {
      "content": "Cupcake ipsum dolor sit amet carrot cake. Sweet tootsie roll marzipan jelly-o cake cotton candy pie. Jelly-o powder tootsie roll. Toffee gummi bears muffin powder caramels dragée soufflé. Halvah gummies gingerbread jelly jujubes. Sweet toffee lollipop chocolate cake.",
      "coverImage": "http://placekitten.com/g/700/400",
      "coverImageAlt": "A random kitten from PlaceKitten.com",
      "dateCreated": 1609718400000,
      "slug": "my-first-blog-post",
      "title": "My First Blog Post"
    },
    "my-second-blog-post": {
      "content": "Cupcake ipsum dolor sit amet carrot cake. Sweet tootsie roll marzipan jelly-o cake cotton candy pie. Jelly-o powder tootsie roll. Toffee gummi bears muffin powder caramels dragée soufflé. Halvah gummies gingerbread jelly jujubes. Sweet toffee lollipop chocolate cake.",
      "coverImage": "http://placekitten.com/g/700/500",
      "coverImageAlt": "A random kitten from PlaceKitten.com",
      "dateCreated": 1609459200000,
      "slug": "my-second-blog-post",
      "title": "My Second Blog Post"
    }
  }
}
- Go to your Realtime Database in Firebase.
- Click the vertical ellipsis menu icon. It’s to the right of a circle minus sign icon.
- Select the “Import JSON” menu option.
- Browse for the
data.jsonfile you just created. - Click the “Import” button.
Next.js Setup
Let’s spend some time in our terminal and code editor now. We need to add some inital packages and files to the same place that we created our data.json file in the previous section. The next few steps are commands that need to be run in a terminal, so go ahead and fire it up if you haven’t already.
Make sure you run the commands in steps 1 and 2 in your nextjs-firebase-blog directory.
npm init -yto set up yourpackage.jsonfile.npm install next react react-dom sass firebaseto install all the necessary packages.- Open
package.jsonin your code editor. - Update the
"scripts"property to havedev,build, andstartproperties like this:
{
  "scripts": {
    "dev": "next dev",
    "build": "next build",
    "start": "next start"
  }
}
- Add a
pagesdirectory. - Add
_app.jsto thepagesdirectory and write this code in it:
// This is called a "Custom `App` in Next.js.
// We use it for global styles and will later use it for loading an
// icon library. You can read more about this in the Next.js docs at:
// https://nextjs.org/docs/advanced-features/custom-app

import '@styles/global.scss';

const App = ({ Component, pageProps }) => <Component {...pageProps} />;

export default App;
- Add a
jsconfig.jsonfile in the root of the project:
// This file is for absolute imports and module path aliases.
// It'll help us keep our import statements nice and clean!
// You can read more about this in the Next.js docs at:
// https://nextjs.org/docs/advanced-features/module-path-aliases

{
  "compilerOptions": {
    "baseUrl": "./",
    "paths": {
      "@styles/*": ["styles/*"]
    }
  }
}
- Add a
stylesdirectory in the root of the project. - Add
global.scssto thestylesdirectory:
// This is where global site styles go.

* {
  box-sizing: border-box;
}

body {
  margin: 0;
  font-family: Arial, Helvetica, sans-serif;
}
- Add
index.module.scssto thestylesdirectory:
// These styles go with the index page.

.HomePage {
  max-width: 700px;
  margin: 0 auto;
  padding: 24px;

  h1 {
    margin-bottom: 32px;
  }

  article {
    border: 1px solid black;
    border-radius: 12px;
    overflow: hidden;

    &:not(:last-child) {
      margin-bottom: 32px;
    }

    div {
      padding: 16px;

      h2 {
        margin-top: 0;
        margin-bottom: 4px;
      }

      span {
        display: block;
        margin-bottom: 12px;
      }

      p {
        margin: 0;
      }
    }
  }
}
- Add
index.jsto thepagesdirectory:
// This component represents the index page for the site. You
// can read more about Pages in the Next.js docs at:
// https://nextjs.org/docs/basic-features/pages

import styles from '@styles/index.module.scss';

const HomePage = () => (
  <div className={styles.HomePage}>
    <h1>Hello from HomePage!</h1>
  </div>
);

export default HomePage;
- In your terminal, start the application in development mode with
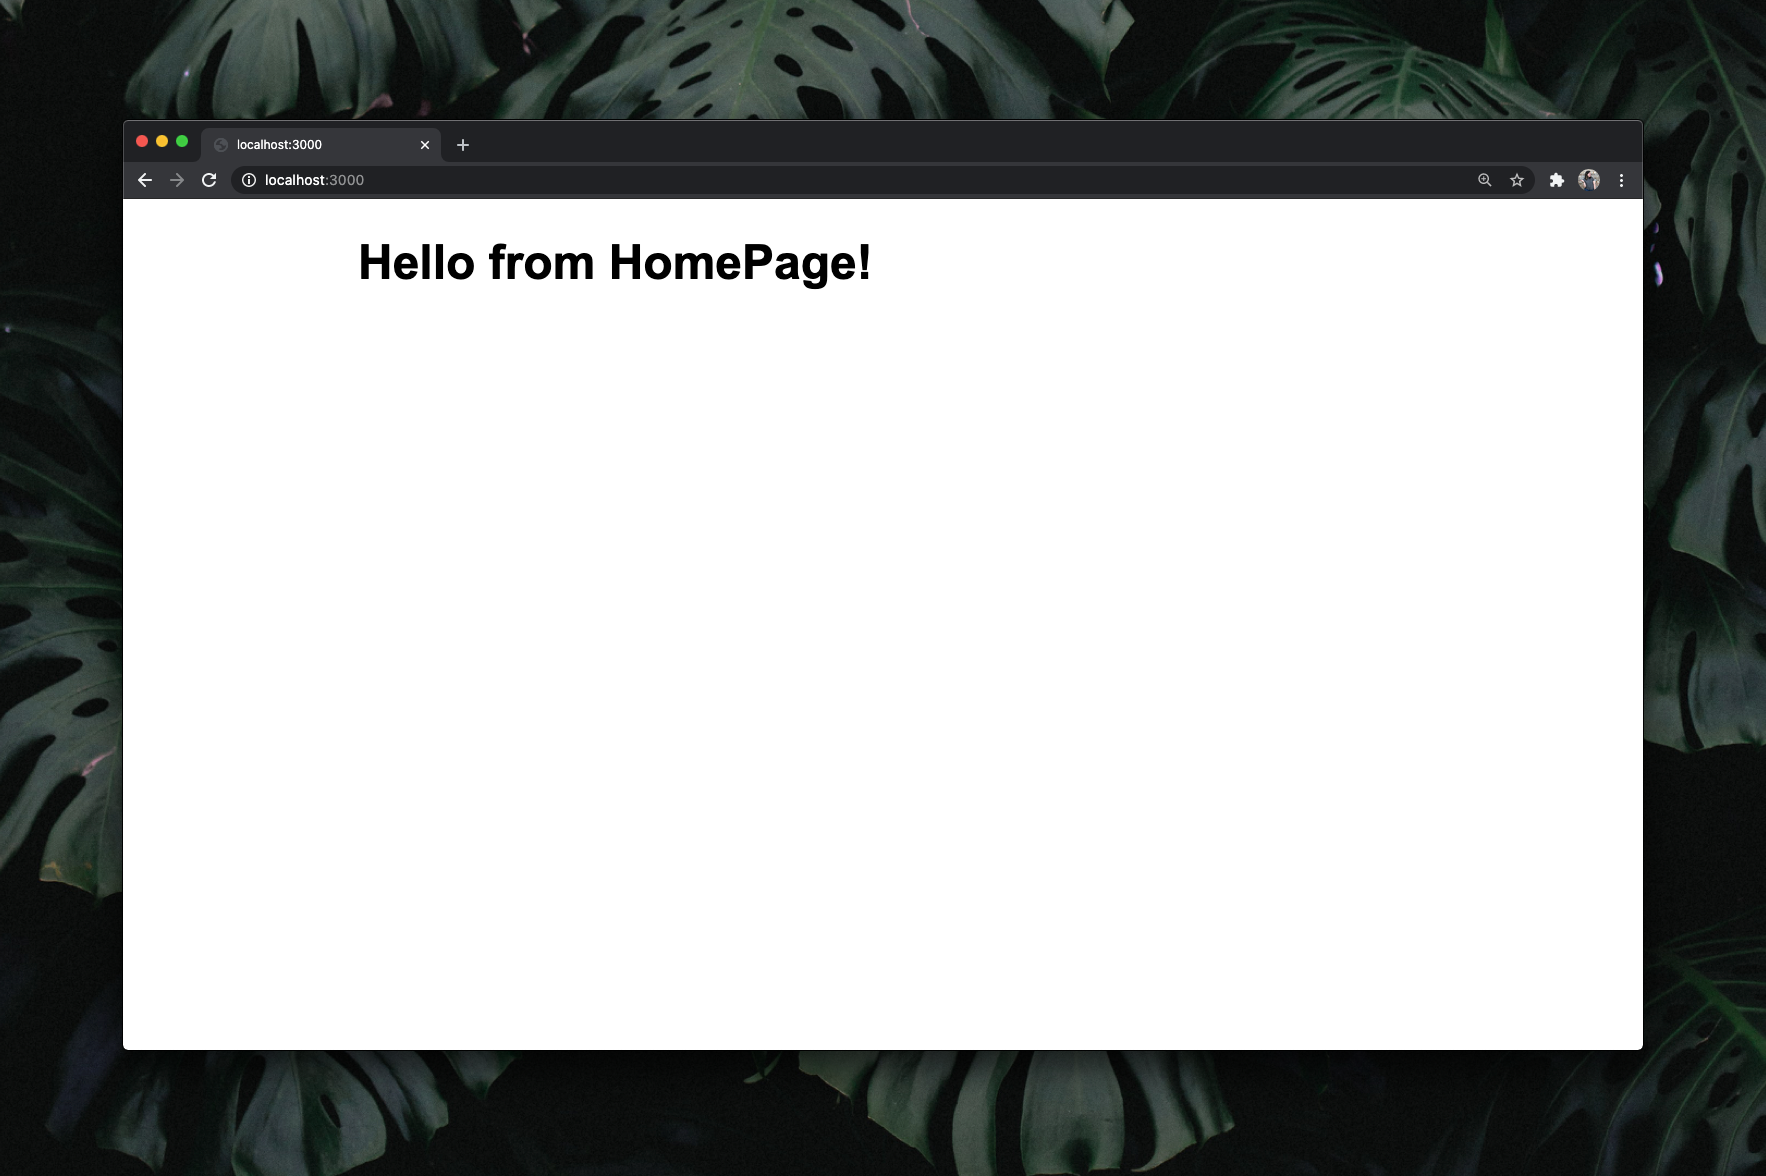
npm run dev. - Go to http://localhost:3000 in your browser. It should look like this (mine is zoomed in for visibility):
Create a Repository and Commit Progress
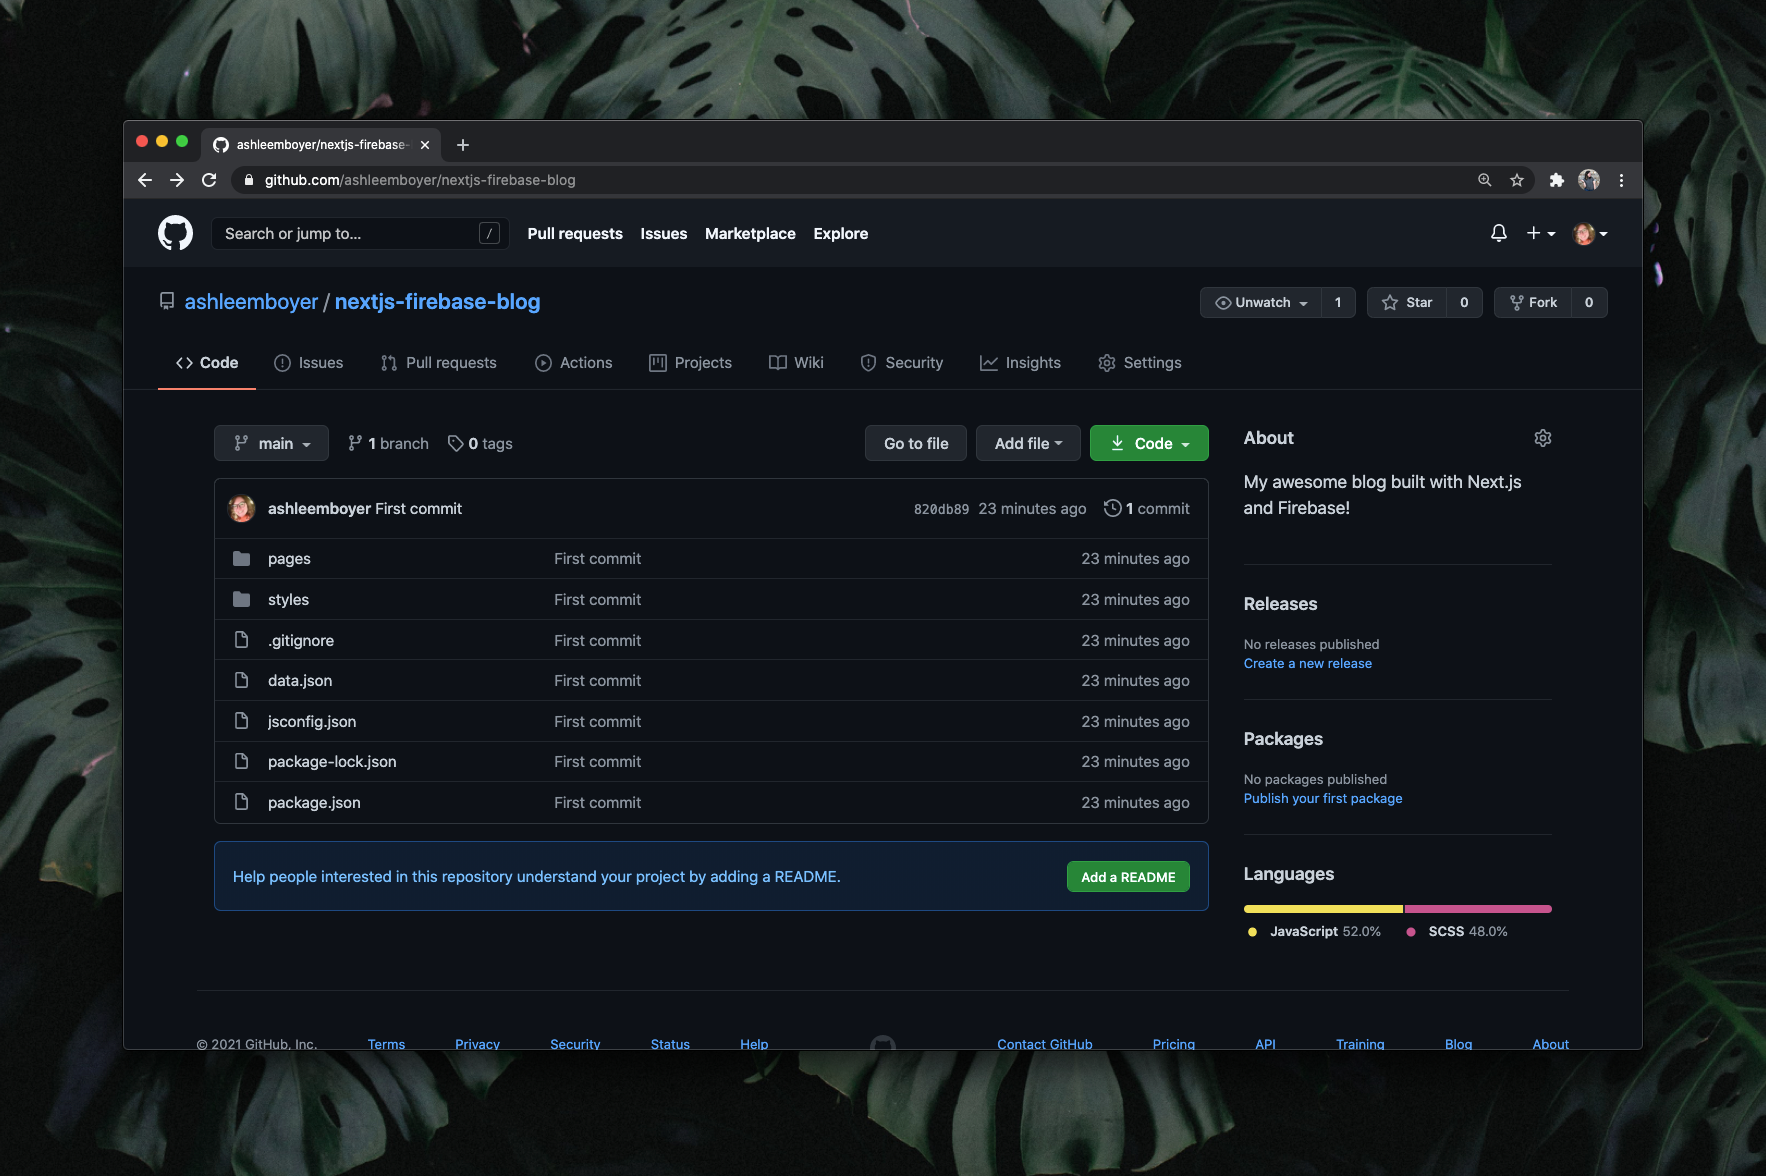
This is a great place to stop and commit because you have a working version of your app. You want this code in a repository for a quite a few reasons:
- A clear commit history is an efficient way to remind yourself what you did.
- You can access the code from multiple machines.
- Other people will be able to see what you’ve created. (Learning out loud is definitely a good thing!)
- Vercel makes it easy to deploy from GitHub repositories.
- Go to https://github.com/new
- Name your repository
nextjs-firebase-blog. - Add a description like “My awesome blog built with Next.js and Firebase!”
- Click the “Create repository” button.
The next few steps will be run in your terminal.
git initto initialize a Git repository in your project directory.- Add a
.gitignorefile so we can avoid adding unnecessary files to the repository:
.next
node_modules
git add .to stage all of your files for a commit.git commit -m "First commit"to create the commit and add a message to it.git branch -M mainto rename themasterbranch tomaingit remote add origin <shortname>where<shortname>is the one associated with your repository.git push -u origin mainto push your commits to the repository.- Refresh GitHub in your browser and your repository should have all of your code.
Display the Test Data
In order to read data from our Firebase Realtime Database, we need to initialize a Firebase app within our site. This will require three config variables that Firebase provides: apiKey, databaseURL, and projectId. We’ll store these variables in an environment file and git ignore it so we don’t accidentally share secret information with the public.
- Update your
.gitignoreto include.env:
.next
node_modules
.env
- Go to your project settings in the Firebase console.
- Scroll to the bottom of the page where it says “Your apps.”
- Click the
</>button to register your app for web. - For “App nickname”, enter
nextjs-firebase-blog. - Click the “Register app” button and keep this page open.
- Add a
.envfile in the root of the project and paste yourapiKey,databaseURL, andprojectIdin the correct places:
NEXT_PUBLIC_FIREBASE_API_KEY=<your api key>
NEXT_PUBLIC_FIREBASE_DATABASE_URL=<your database url>
NEXT_PUBLIC_FIREBASE_PROJECT_ID=<your project id>
- You can leave this page by clicking the “Continue to console” button.
- Add a
libdirectory in the root of the project. - Add a
firebase.jsfile:
// This is where we'll add all of the functions for interacting with
// Firebase services in our app.

import firebase from 'firebase/app';
import 'firebase/database';

const initFirebase = async () => {
  // This check prevents us from initializing more than one app.
  if (!firebase.apps.length) {
    firebase.initializeApp({
      apiKey: process.env.NEXT_PUBLIC_FIREBASE_API_KEY,
      databaseURL: process.env.NEXT_PUBLIC_FIREBASE_DATABASE_URL,
      projectId: process.env.NEXT_PUBLIC_FIREBASE_PROJECT_ID,
    });
  }
};

// Gets all posts from the database in reverse chronological order.
export const getPosts = async () => {
  // Because our exported functions can be called at any time from
  // any place in our app, we need to make sure we've initialized
  // a Firebase app every time these functions are invoked.
  initFirebase();

  const posts = await firebase
    .database()
    .ref('/posts')
    .orderByChild('dateCreated')
    .once('value')
    .then((snapshot) => {
      const snapshotVal = snapshot.val();

      const result = [];
      for (var slug in snapshotVal) {
        const post = snapshotVal[slug];
        result.push(post);
      }

      return result.reverse();
    });

  return posts;
};
- Update
jsconfig.jsonfor the newlibdirectory:
{
  "compilerOptions": {
    "baseUrl": "./",
    "paths": {
      "@lib/*": ["lib/*"],
      "@styles/*": ["styles/*"]
    }
  }
}
- Import the
getPostsinpages/index.jsas the first import:
import { getPosts } from '@lib/firebase';
- Below the imports, add a helper function for formatting the date of a post:
const getFormattedDate = (milliseconds) => {
  const formatOptions = {
    weekday: 'long',
    month: 'long',
    day: 'numeric',
    year: 'numeric',
    timeZone: 'UTC',
  };
  const date = new Date(milliseconds);
  return date.toLocaleDateString(undefined, formatOptions);
};
- After the
HomePagecomponent initialization and beforeexport default HomePage, addgetServerSidePropsfor fetching posts from the database:
// This is for fetching data every time the page is visited. We do this
// so that we don't have to redploy the site every time we add a blog post.
// You can read more about this in the Next.js docs at:
// https://nextjs.org/docs/basic-features/data-fetching#getserversideprops-server-side-rendering

export async function getServerSideProps() {
  const posts = await getPosts();

  return {
    props: {
      posts,
    },
  };
}
- Update the
HomePagecomponent to accept apostsprop and to render the givenposts:
const HomePage = ({ posts }) => (
  <div className={styles.HomePage}>
    <h1>Blog Posts</h1>
    {posts.map((post) => (
      <article key={post.slug}>
        <img src={post.coverImage} alt={post.coverImageAlt} />
        <div>
          <h2>{post.title}</h2>
          <span>{getFormattedDate(post.dateCreated)}</span>
          <p
            dangerouslySetInnerHTML={{
              __html: `${post.content.substring(0, 200)}...`,
            }}
          ></p>
        </div>
      </article>
    ))}
  </div>
);
- Stop the development server if it’s running.
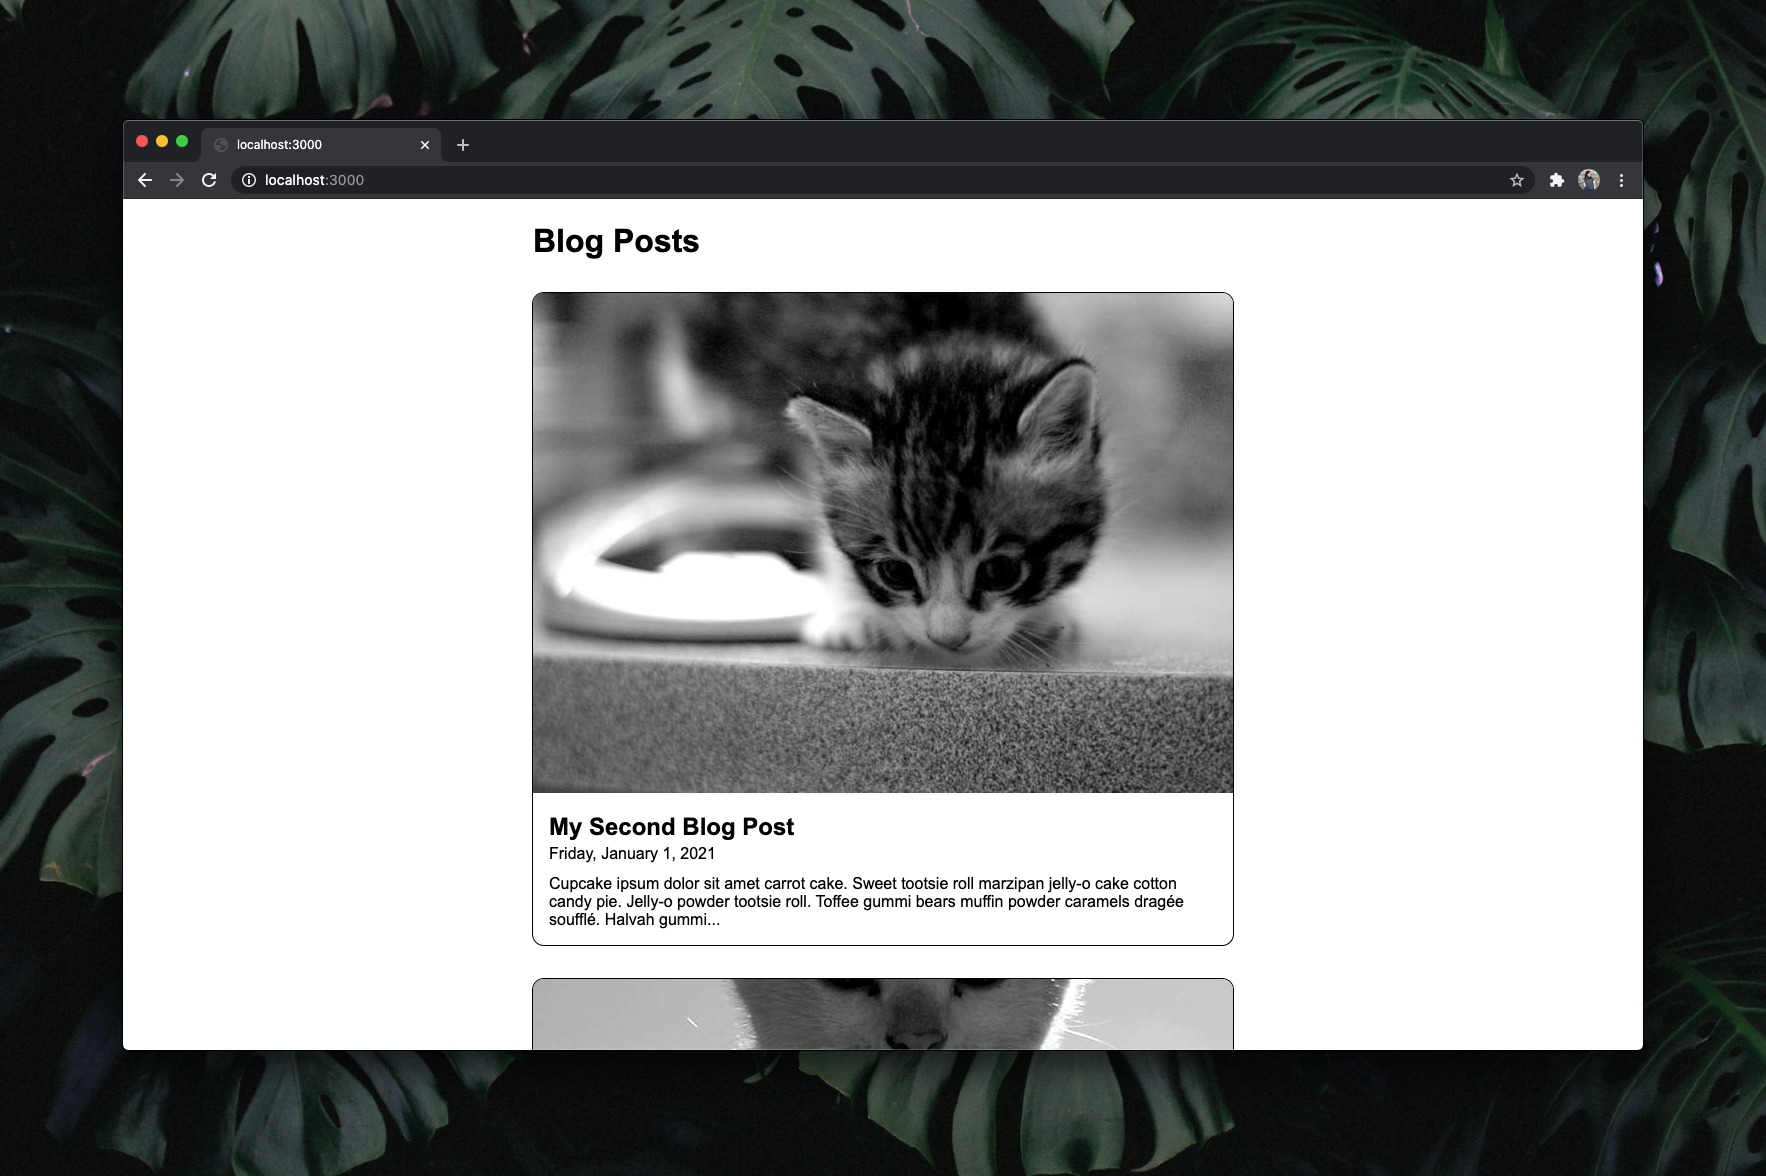
npm run devto start the development server.- Go to http://localhost:3000/ in your browser and it should look something like this:
- You’ve done quite a bit of work now, so make sure you commit and push it in your terminal:
git add .
git commit -m "Showing test data on HomePage"
git push
Deploy to Vercel
Woot! We’re at the last step! We’ve got a basic little blog site that lists posts from a Firebase Realtime Database. You should be so proud of yourself. Let’s get this deployed to Vercel so you can show it off! There’s a video after these steps that visually walks though how to do this.
- Go to vercel.com/new. You may have to create an account.
- Find your
nextjs-firebase-blogrepository and click the “Import” button next to it. - Select your personal account for the Vercel Scope.
- Click the “Deploy” button.
- Wait for the deploy to finish, but don’t visit the site just yet.
- Go the Project Settings in Vercel.
- Click Environment Variables from the left-hand sidebar.
- Scroll down to the “Add New” section.
- Choose “Plaintext”.
- For the
name, putNEXT_PUBLIC_FIREBASE_API_KEY. - For the
value, enter the value you have for the variable from your.envfile. - Click the “Save” button.
- Repeat steps 9-12 for the other two variables in your
.envfile:NEXT_PUBLIC_FIREBASE_DATABASE_URLandNEXT_PUBLIC_FIREBASE_PROJECT_ID.
You should now have 3 environment variables that match the ones in your .env file. A deployment is required for these changes to take effect, so let’s finish up with that last task. There’s a video after these steps that visually walks though how to do this.
- Go to your project overview.
- Scroll to the Production Deployment section.
- Under “DEPLOYMENT” in that section, click the link. It’s the first one listed. You’ll be taken to the Overview page for this specific deploy.
- Click the vertical ellipsis menu directly to the left of the “Visit” button.
- Choose the “Redploy” menu option.
- Click the “Redeploy” button in the modal that pops up.
- Wait for the deploy to finish.
- Click the “Visit” button when it appears.
- Celebrate!!! You did it!!! 🎉


