Archived Build a Blog Site with Next.js and Firebase Part 2 - Creating New Posts
Archived
🚨 ATTENTION 🚨
You are currently viewing an archived post. The information here may no longer be accurate or maybe Ashlee just decided not to publish the post as publicly anymore.
Welcome to the second post in my new “Build a Blog Site with Next.js and Firebase” series! This series is pretty similar to a series I wrote in 2019: “Build a React & Firebase Blog Site”. Because it’s been well over a year since I published that series, I decided to create a new series and use the Next.js React framework this time. It’s a fun framework to use, and I know so many people that are curious about it. I hope you enjoy the series!
- Read Part 1 of the series
- Read Part 3 of the series
- Read Part 4 of the series
- Read Part 5 of the series
Add a Page for Creating Posts
First, let’s add styles and a minimal component for our new CreatePage component.
- Add
create.module.scssin thestylesdirectory:
.CreatePage {
  max-width: 700px;
  margin: 0 auto;
  padding: 24px;

  form {
    padding: 16px;

    h1 {
      margin-top: 0;
      margin-bottom: 24px;
    }

    input {
      margin-bottom: 16px;
    }

    textarea {
      height: 300px;
    }

    button {
      display: block;
      margin-right: 0;
      margin-left: auto;
      margin-top: 24px;
    }
  }
}
- Add
create.jsin thepagesdirectory:
import styles from './create.module.scss';

const CreatePage = () => (
  <div styles={className.CreatePage}>
    <h1>Hello, from CreatePage!</h1>
  </div>
);

export default CreatePage;
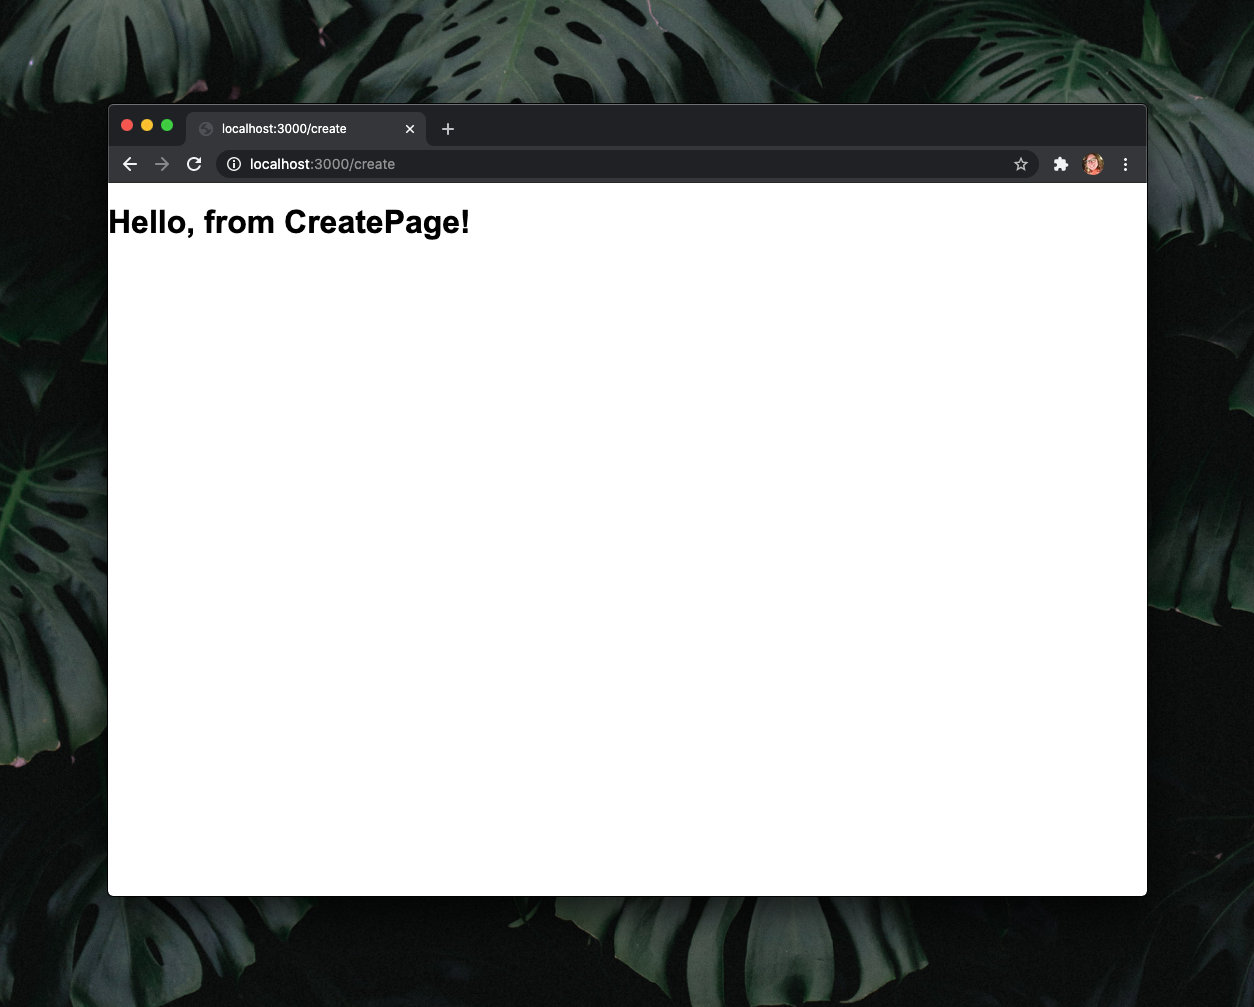
- Go to http://localhost:3000/create in your browser. There’s not much here because we first want to check that the files we’ve added work correctly before we add too much functionality. It should look like this:
- Commit and push your work to your repository:
git add .
git commit -m "Adding basic CreatePage component"
git push
Make a Form for Describing Posts
Now that we’ve successfully added a page for creating posts, we can add a handful of inputs we’ll use to describe posts. Let’s review what attributes our posts have so we can decide what inputs we need. You can double-check the “shape” of posts by opening up your Firebase Realtime Database and expanding the objects in it. You should see these attributes (they’re listed in alphabetical order in Firebase):
titleslugdateCreatedcoverImagecoverImageAltcontent
Of all of these attributes, there’s one we can auto-generate when that “Create” button is clicked and don’t need an input for: dateCreated. The rest need to be text <input>s and the content attribute will need a <textarea> so it’s easy to write a lot of text. Let’s add some styles for these new controls we’re adding and then add them to the CreatePage.
- Add styles for the new elements we’re adding to the end of
styles/global.scss:
label,
input,
textarea {
  display: block;
  width: 100%;
}

label {
  margin-bottom: 4px;
}

input,
textarea {
  padding: 4px;
  font-size: 1rem;
  font-family: Arial, Helvetica, sans-serif;
  border: 1px solid black;
  border-radius: 4px;
}

button {
  background-color: #1a73e8;
  border: 1px solid #1a73e8;
  border-radius: 4px;
  padding: 8px;
  color: white;
  font-size: 1rem;
  cursor: pointer;
}
- Add some event handler functions and a
<form>with the<input>,<textarea>, and<button>elements we need toCreatePage:
import { useState } from 'react';
import styles from '@styles/create.module.scss';

const CreatePage = () => {
  const [formValues, setFormValues] = useState({
    title: '',
    slug: '',
    coverImage: '',
    coverImageAlt: '',
    content: '',
  });

  /*
  This is the function we're passing to each control so we can capture
  the value in it and store it in our `formValues` variable.
  */
  const handleChange = (e) => {
    const id = e.target.id;
    const newValue = e.target.value;

    setFormValues({ ...formValues, [id]: newValue });
  };

  /*
  This function is passed to the <form> and specifies what happens when
  the form is submitted. For now, we're going to log our `formValues`
  to verify that they are being managed correctly.

  Side note: we do not need to set an `onClick` for the <button> at the
  end of the form because it has type="submit". This allows us to click
  to submit the form or press the Enter key to submit it.
  */
  const handleSubmit = (e) => {
    // This prevents the default functionality of submitting a form
    e.preventDefault();

    console.log(formValues);
  };

  return (
    <div className={styles.CreatePage}>
      <form onSubmit={handleSubmit}>
        <h1>Create a new post</h1>
        <div>
          <label htmlFor="title">Title</label>
          <input
            id="title"
            type="text"
            value={formValues.title}
            onChange={handleChange}
          />
        </div>
        <div>
          <label htmlFor="slug">Slug</label>
          <input
            id="slug"
            type="text"
            value={formValues.slug}
            onChange={handleChange}
          />
        </div>
        <div>
          <label htmlFor="coverImage">Cover Image URL</label>
          <input
            id="coverImage"
            type="text"
            value={formValues.coverImage}
            onChange={handleChange}
          />
        </div>
        <div>
          <label htmlFor="coverImageAlt">Cover Image Alt</label>
          <input
            id="coverImageAlt"
            type="text"
            value={formValues.coverImageAlt}
            onChange={handleChange}
          />
        </div>
        <div>
          <label htmlFor="content">Content</label>
          <textarea
            id="content"
            value={formValues.content}
            onChange={handleChange}
          />
        </div>
        <button type="submit">Create</button>
      </form>
    </div>
  );
};

export default CreatePage;
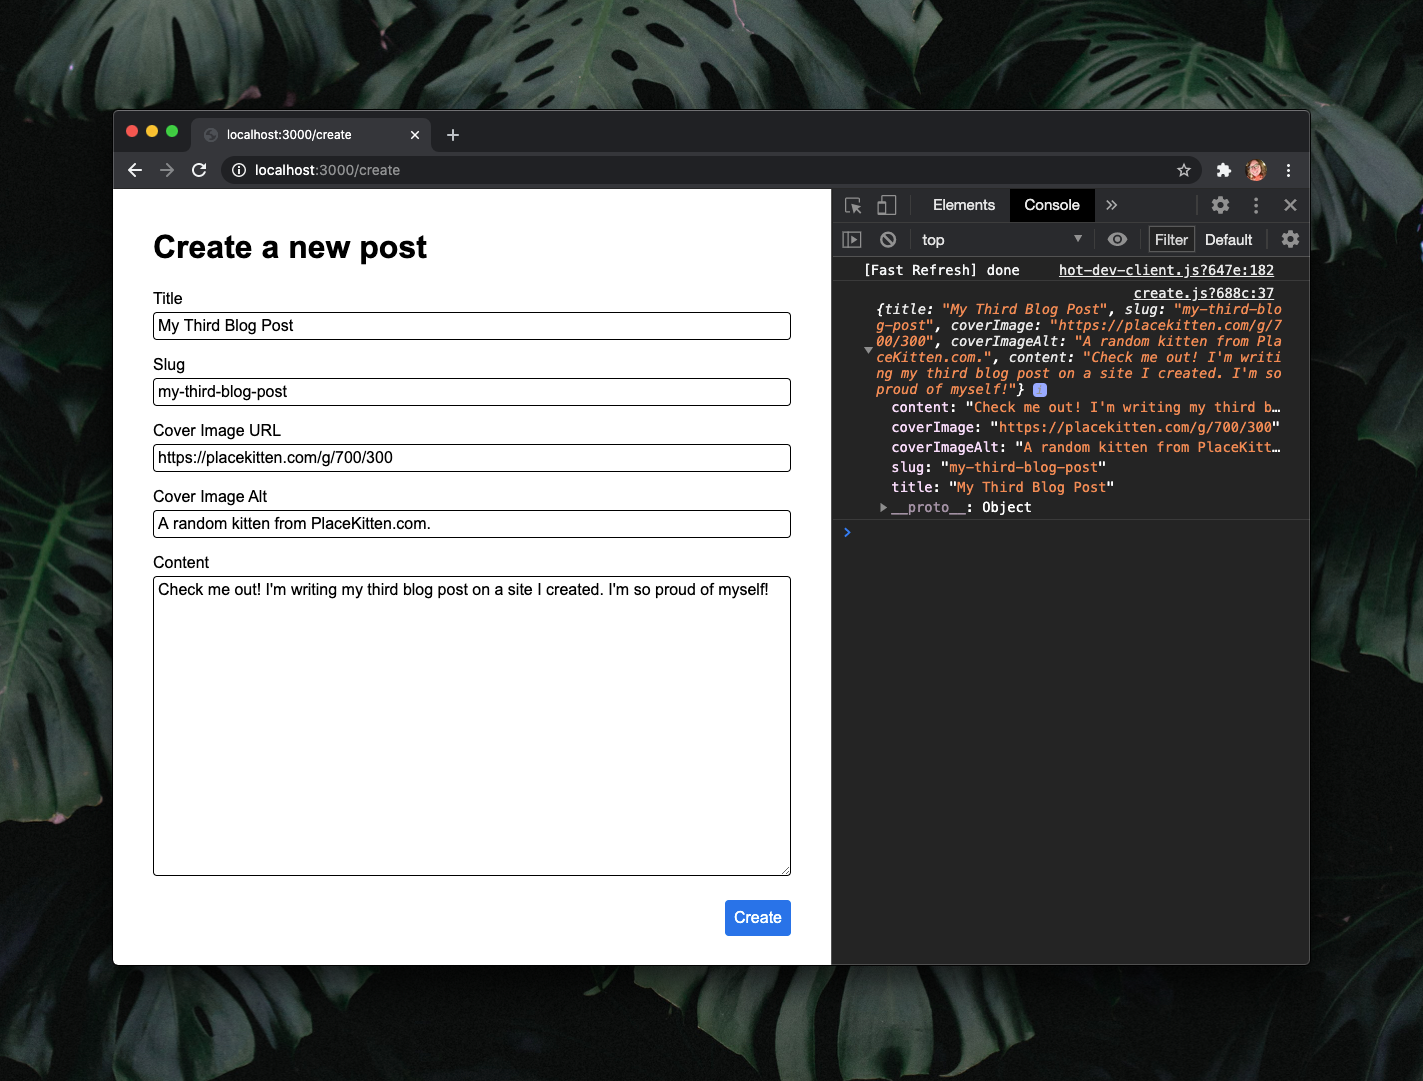
- Enter some data into each of the controls. Here’s a list of what I’m entering as an example:
title: My Third Blog Postslug: my-third-blog-postcoverImage: https://placekitten.com/g/700/300coverImageAlt: A random kitten from PlaceKitten.com.content: Check me out! I’m writing my third blog post on a site I created. I’m so proud of myself!
- Click the “Create” button.
- Check the dev tools console.
- Your page and console should look like this:
- Commit and push your work to your repository:
git add .
git commit -m "Adding form and controls to CreatePage"
git push
Write a Firebase Create Function
Our CreatePage component captures all the data we need to create a post. Now, we need to do something with that data.
- Add a
createPostfunction tolib/firebase.js:
/*
Creates a new post under /posts in the Realtime Database. Automatically
generates the `dateCreated` property from the current UTC time in milliseconds.
*/
export const createPost = async (post) => {
  initFirebase();

  const dateCreated = new Date().getTime();
  post.dateCreated = dateCreated;

  return firebase.database().ref(`/posts/${post.slug}`).set(post);
};
- Update the
CreatePagecomponent for fully creating posts. The code after this list of changes shows what your component should look like after making the updates.
- Import
useRouterfromnext/routerafter theuseStateimport. - Import
createPostfrom@lib/firebaseafter theuseRouterimport. - Instantiate the
routerat the top of theCreatePagefunction. - Add an
isLoadingstate after theformValuesinstantiation. - Update
handleSubmitto check for missing values, set theisLoadingstate, and callcreatePost. - Update the submit
<button>to useisLoading.
import { useState } from 'react';
import { useRouter } from 'next/router'; // this is new
import { createPost } from '@lib/firebase'; // this is new
import styles from '@styles/create.module.scss';

const CreatePage = () => {
  const router = useRouter(); // this is new
  const [formValues, setFormValues] = useState({
    title: '',
    slug: '',
    coverImage: '',
    coverImageAlt: '',
    content: '',
  });
  const [isLoading, setIsLoading] = useState(false); // this is new

  /*
  This is the function we're passing to each control so we can capture
  the value in it and store it in our `formValues` variable.
  */
  const handleChange = (e) => {
    const id = e.target.id;
    const newValue = e.target.value;

    setFormValues({ ...formValues, [id]: newValue });
  };

  /*
  This function is passed to the <form> and specifies what happens when
  the form is submitted. For now, we're going to log our `formValues`
  to verify that they are being managed correctly.

  Side note: we do not need to set an `onClick` for the <button> at the
  end of the form because it has type="submit". This allows us to click
  to submit the form or press the Enter key to submit it.
  */
  const handleSubmit = (e) => {
    // This prevents the default functionality of submitting a form
    e.preventDefault();

    // Check if there are any missing values.
    let missingValues = [];
    Object.entries(formValues).forEach(([key, value]) => {
      if (!value) {
        missingValues.push(key);
      }
    });

    // Alert and prevent the post from being created if there are missing values.
    if (missingValues.length > 1) {
      alert(`You're missing these fields: ${missingValues.join(', ')}`);
      return;
    }

    // Update the isLoading state.
    setIsLoading(true);

    // Start the attempt to create a new post.
    createPost(formValues)
      .then(() => {
        // Update the isLoading state and navigate to the home page.
        setIsLoading(false);
        router.push('/');
      })
      .catch((err) => {
        // Alert the error and update the isLoading state.
        alert(err);
        setIsLoading(false);
      });
  };

  return (
    <div className={styles.CreatePage}>
      <form onSubmit={handleSubmit}>
        <h1>Create a new post</h1>
        <div>
          <label htmlFor="title">Title</label>
          <input
            id="title"
            type="text"
            value={formValues.title}
            onChange={handleChange}
          />
        </div>
        <div>
          <label htmlFor="slug">Slug</label>
          <input
            id="slug"
            type="text"
            value={formValues.slug}
            onChange={handleChange}
          />
        </div>
        <div>
          <label htmlFor="coverImage">Cover Image URL</label>
          <input
            id="coverImage"
            type="text"
            value={formValues.coverImage}
            onChange={handleChange}
          />
        </div>
        <div>
          <label htmlFor="coverImageAlt">Cover Image Alt</label>
          <input
            id="coverImageAlt"
            type="text"
            value={formValues.coverImageAlt}
            onChange={handleChange}
          />
        </div>
        <div>
          <label htmlFor="content">Content</label>
          <textarea
            id="content"
            value={formValues.content}
            onChange={handleChange}
          />
        </div>
        <button type="submit" disabled={isLoading}>
          {isLoading ? 'Creating...' : 'Create'}
        </button>
      </form>
    </div>
  );
};

export default CreatePage;
- Fill out the form with data such as this:
title: My Third Blog Postslug: my-third-blog-postcoverImage: https://placekitten.com/g/700/300coverImageAlt: A random kitten from PlaceKitten.com.content: Check me out! I’m writing my third blog post on a site I created. I’m so proud of myself!
- Click the “Create” button.
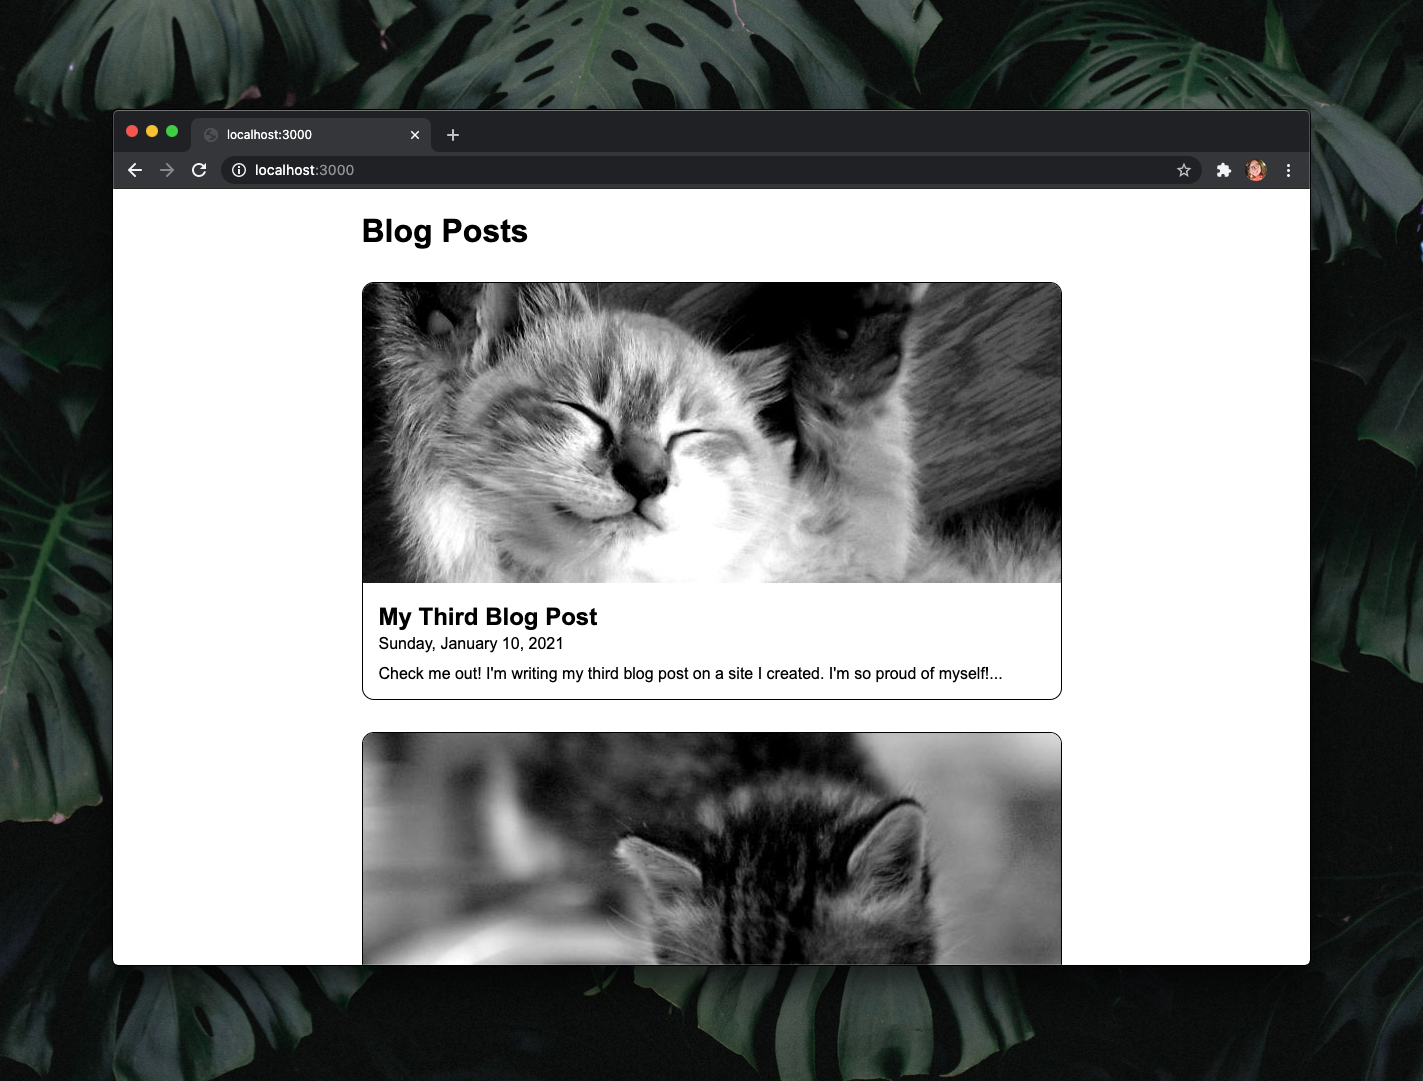
- When it’s finished loading, you should see the home page and your new post at the top of the list.
- Commit and push your work to your repository:
git add .
git commit -m "Adding createPost function and using it in CreatePage"
git push
- Celebrate!!! You did it!!! 🎉
Don’t forget that last time, we deployed our site to Vercel. With every git push we’ve done, Vercel has re-built your site for you! It’s already updated and you can share your progress with everyone you know. :)


